Docker is an open-source platform for building and running distributed software using containers.
A container image is a lightweight, standalone, executable package of software that includes everything needed to run the application: code, runtime, system tools, system libraries, and settings. This will make sure that the application will run on any other machine regardless of any customized settings that machine might have. Also, the containers will keep the application isolated from the host system that they run on.
Installing Docker
To start using Docker, you need to install it first. Go to the https://www.docker.com/get-started page and download the Docker for Developers tools by choosing your OS.
After choosing your OS, you will be forwarded to the Docker Hub, where all the docker images can be found and where your docker images will be saved (Docker Hub is a free-to-use hosted Registry). Most cloud providers have docker registries as Azure Container Registry and Amazon ECR.
To download the Docker Desktop, you need to register to the Docker Hub:
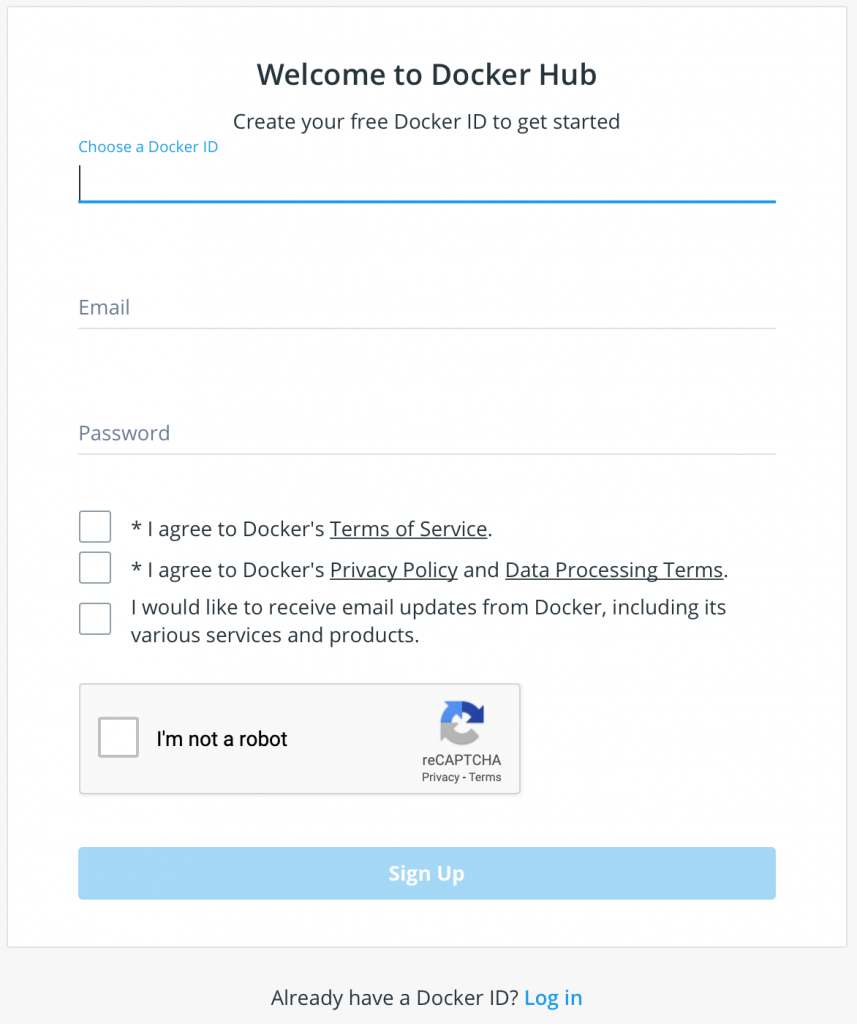
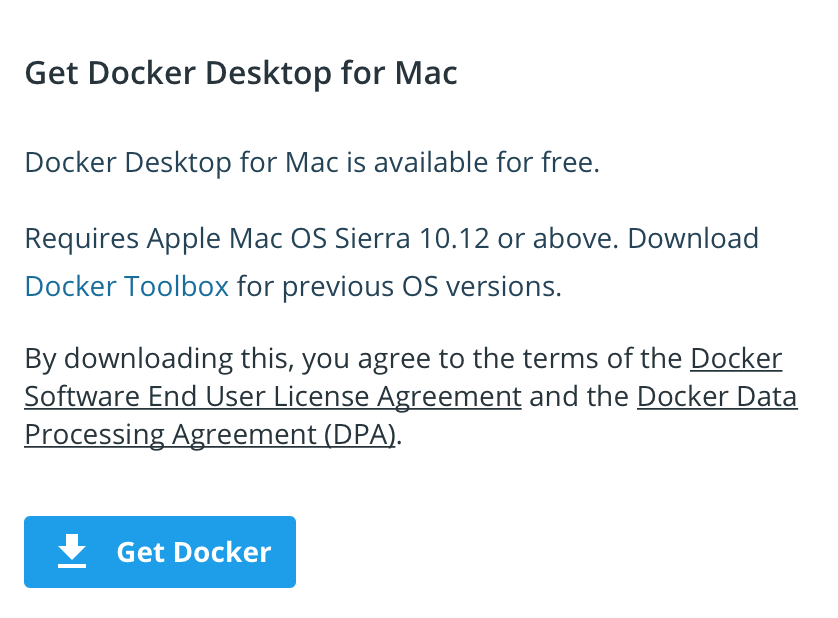
After completion the registeration process, or if you already have an account in the Docker Hub and you logged-in, then you need to click on the Get Docker button to download the installation package. Then all you need is to proceed with the installation steps and install the Docker Desktop application.
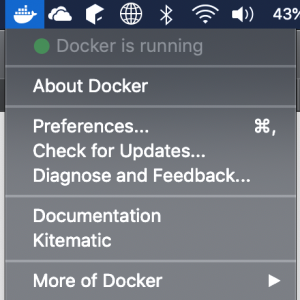
When the installation completes and Docker starts, the whale icon (Docker’s icon) will appear in status bar shows that Docker is running… and accessible from a terminal.

Now we can start using Docker.
There are two ways to use Docker, in the Terminal and in a UI application called Kitematic – you can install and run Kitematic by pressing on the Kitematic on the Docker’s main window
In this intro, we will use only the terminal and interact with Docker using command line.
Working with Docker
Now, open your terminal and run the command:
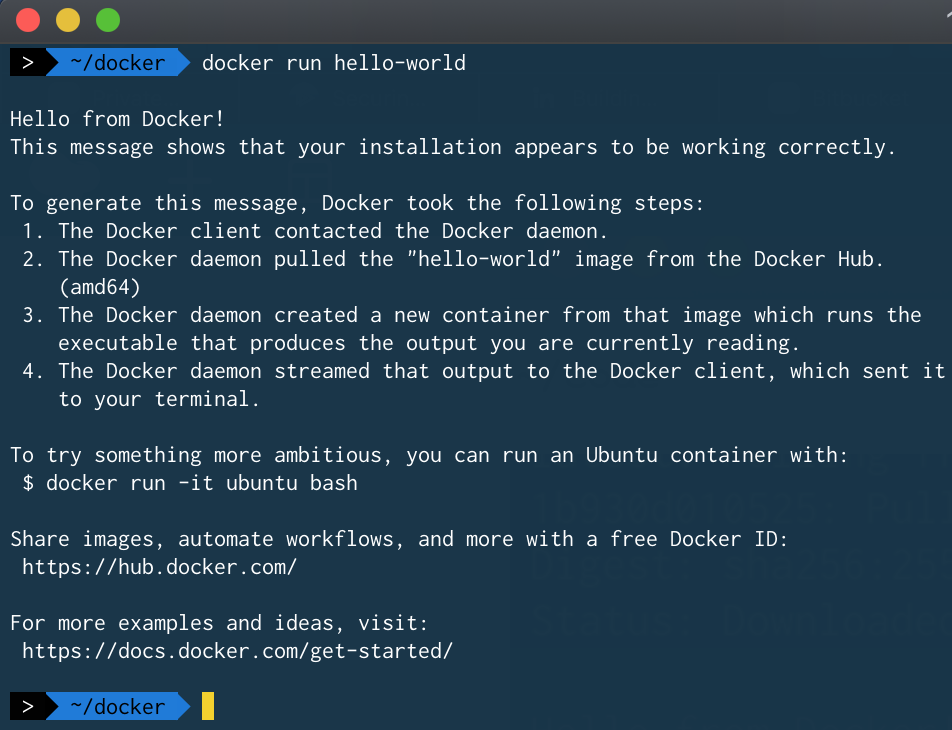
> docker run hello-world
The following output will be printed:
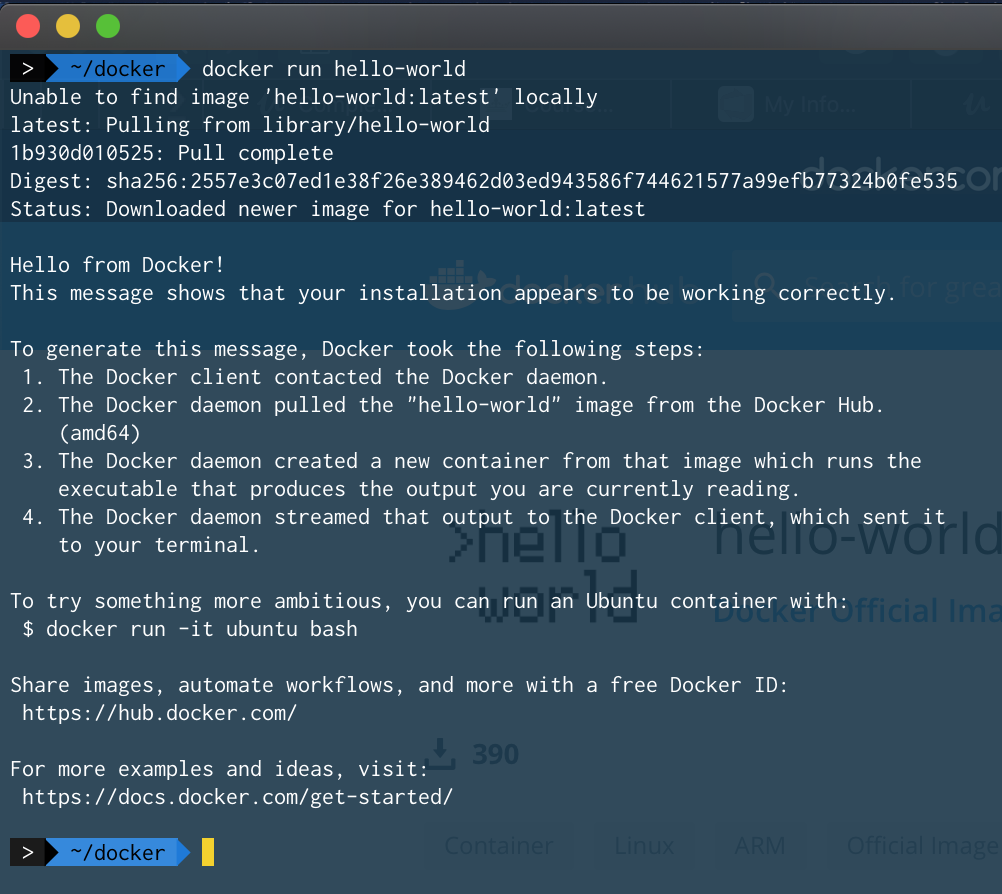
What Docker did by running the docker run hello-world command was, first, it checked if you already have the hello-world image locally, and because you already don’t have it, Docker pulls it from the Docker Hub repository and then it executes what hello-world image was supposed to do (printing the “Hello from Docker!”…).
Now, if you will try to run the same command again, it won’t run the pulling stage, and it will just run it.
Pulling Images
Now, let’s do something more interesting. We will pull the image of Ubuntu. Pulling an image is done by running the pull command in the following format:
> docker pull image[:TAG]
The :TAG is optional, when omitting the :TAG – docker will pull the LATEST version/tag of the image – so running the command:
> docker pull ubuntu
Is the same as running:
> docker pull ubuntu:latest
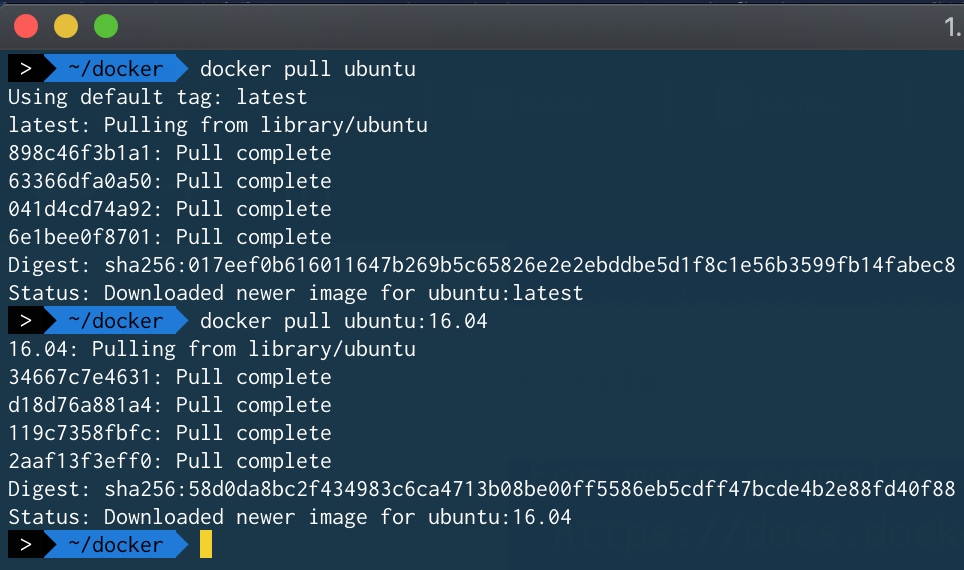
Now let’s pull two versions of ubuntu image. The latest and the 16.04 version. For that, we can run the following two pull commands:
> docker pull ubuntu
> docker pull ubuntu:16.04
Working with images
Now, we downloaded two images, the latest version of the ubuntu image and the ubuntu:16.04 image.
To see the list of all the images you downloaded to your computer, you need to run the following command:
> docker images
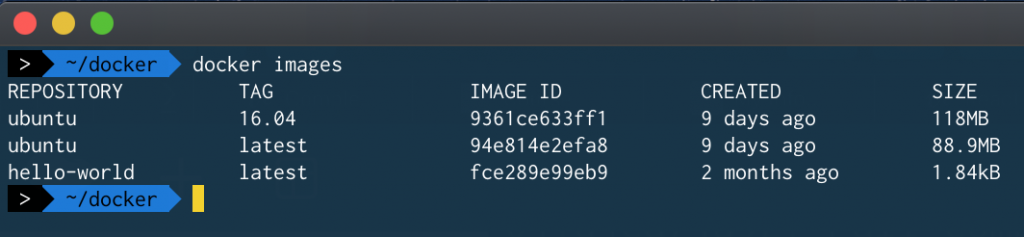
Here, you will see all the images, their version (tag), their ID, when that have been pulled and their size in your hard drive.
You can see above that I have three images, two ubuntu images and one hello-world image which has been pulled in the previous section.
To delete an image you can run the following command:
> docker rmi IMAGE[:TAG]
The IMAGE can be the image name or the IMAGE_ID. In docker-cli you don’t need to insert all the IMAGE_ID – you can use a unique part of the IMAGE_ID. For example, the IMAGE_ID of the hello-world image is: fce289e99eb9. Then using the IDs fce or fc or fce2 all are the same as using the full IMAGE_ID.
Now, let’s delete the ubuntu:16.04 and the hello-world images:
> docker rmi ubuntu:16.04
> docker rmi fce2

You can see above, that in my system, the removal of the ubuntu:16.04 was completed successfully but, removing the hello-world image failed. It failed because I have containers that depends on the hello-world image which are running or stopped which can be used to run again, therefore, I cannot remove the hello-world image until I remove those containers or instead, forcing hello-world image to be deleted while ignoring all the containers that used it to run.
To see all the containers which are currently running you can run the following command:
> docker ps -a
or:
> docker ps --all
By default, running only the command:
> docker ps
will show only the running containers – while adding the -a or –all will show all the running and the stopped conatiners:

You can see above that I have two containers that depend on the hello-world image, so if I want to remove the hello-world image then I need to remove them. For now, let’s force the hello-world image to be removed with all of its containers:
> docker rmi -f hello-world

Now, running the command
> docker images
again, will show us only the ubuntu image:

While running the command:
> docker ps -a
Will show us all the containers that are running of stopped, which on my case, will show that I ran the hello-world image twice:

But this time it shows me only the IMAGE_ID of the deleted hello-world image.
To delete containers, you can run the following command:
> docker rm CONTAINER_ID
or
> docker rm CONTAINER_NAME
So, to remove the two containers, then I can run the following:
> docker rm zen_napier
> docker rm 92f
Working with images and containers
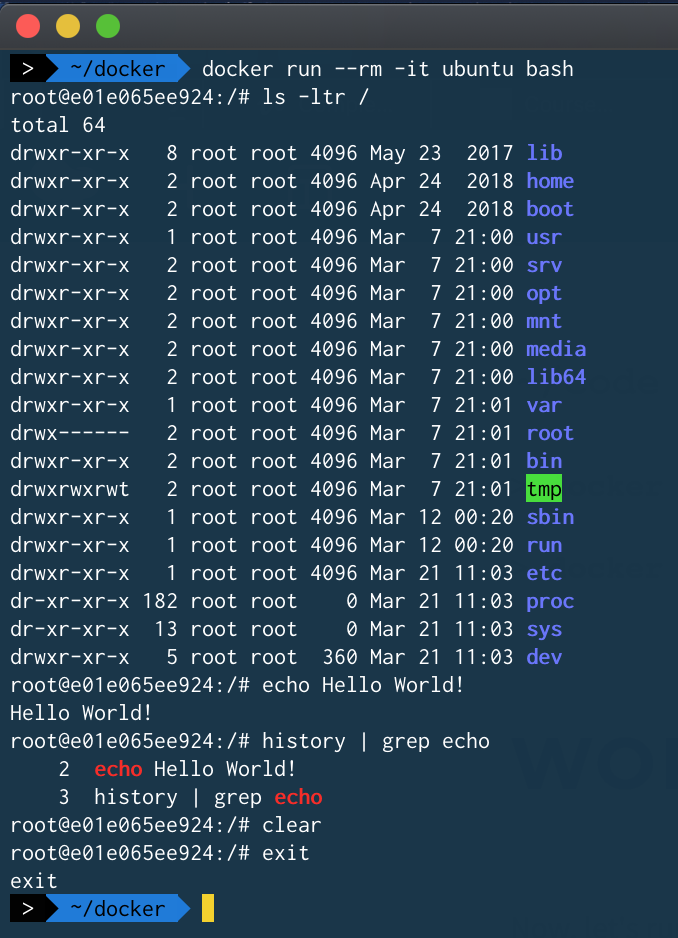
Now, let’s run the ubuntu image by running its bash:
> docker run --rm -it ubuntu bash
- –rm means, delete the container once you finish running, so you won’t see any container in the running/stopped containers list.
- -it is for interactive processes (like a shell), you must use
-i -ttogether in order to allocate a tty for the container process
The docker run command supports the following format:
> docker run [OPTIONS] IMAGE[:TAG|@DIGEST] [COMMAND] [ARG...]
Where, after the image name, we add which command we want to run and after it, we specify the arguments we want to pass to the command. In the example above, we ran only the bash – now, running the command creates a container, runs the bash on it and let us interact of the ubuntu system in the container through the bash:
Let’s run another ubuntu command, now, let’s pass an argument to the bash:
> docker run --rm -it ubuntu bash -c "sleep 3; echo all done"
Here, we sleep 3 seconds an then print all done to the screen.
Working with MongoDB
Now, let’s say you want to build an app that will work with MongoDB. Instead of installing MongoDB in your system, you can just, as expected, use Mongo’s docker image (the same is with MySQL, Oracle, etc…).
So let’s install run a MongoDB on our system without downloading it, just run the following docker command:
> docker run --name my-mongo -p 27017:27017 -v $(pwd)/mongo/data:/data/db -d mongo
The command above will pull the mongo image from Docker Hub, and run it with the following configs:
- –name my-mongo: it will call the running container as my-mongo. By using the –name option, you can name your docker containers with any name you want so you can easily identify them
- -p 27017:27017: Mongo, by default, runs on port 27017, and to use the internal port of the container, you need to map it to a port in your system so you can connect to is, so by using the option -p (–publish) you are telling docker to publish (or expose) the container’s port 27017 to the host’s port 27107, where -p takes the following format: [HOST_PORT]:[CONTAINER_PORT].
- -v $(pwd)/mongo/data:/data/db: here, we are telling docker to bind a volume from the localhost to the container’s volume. Now, MongoDB, by default, saves the database in the directory /data/db. And by this command, instead of saving the data in the container itself (which will be lost if we delete the container), we are telling docker to mount the container’s volume /data/db to our host’s directory $(pwd)/mongo/data. ${pwd} is for getting the relative path to the directory we want to use. Now, Mongo will use our file system ./mongo/data to save the files in it.
- -d: means to run the container in background and print container ID
Running the command above, will give the following output:
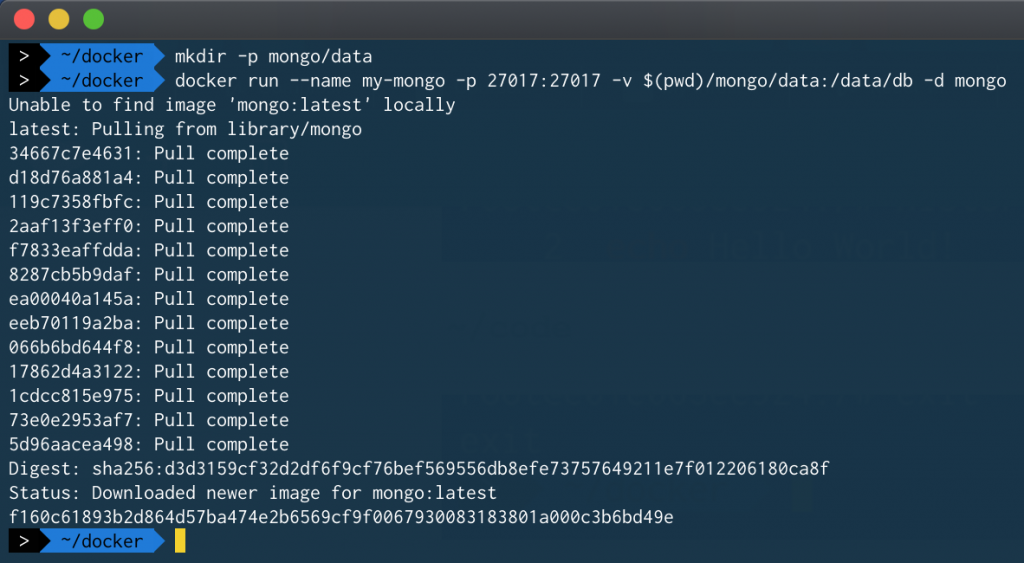
Now, docker pulled the mongo image and starts it – as a result, we got the container_id f160…
If we run the command:
> docker ps
We will see that the my_mongo container is running in the background:

As you can see, the IMAGE mongo is running under the name my-mongo, and the PORT 27017 in the container is binded to the localhost’s 27017 port.
Now, you can connect to the MongoDB instance with any MongoDB client you want the same as connecting to any other MongoDB instance.
Summary
In this post, we learned the basics of working with Docker. We learned how to install Docker, pull and run images and in the end, we learned on how we can use docker to run databases as MongoDB without installing the actual MongoDB software.
By using docker, you can run multiple MongoDB instances and versions without any need to install all the versions you want to use.
Next, I will show you to build your own images, how to use Docker to deploy your own code and run it in a container. So, keep tuned.